
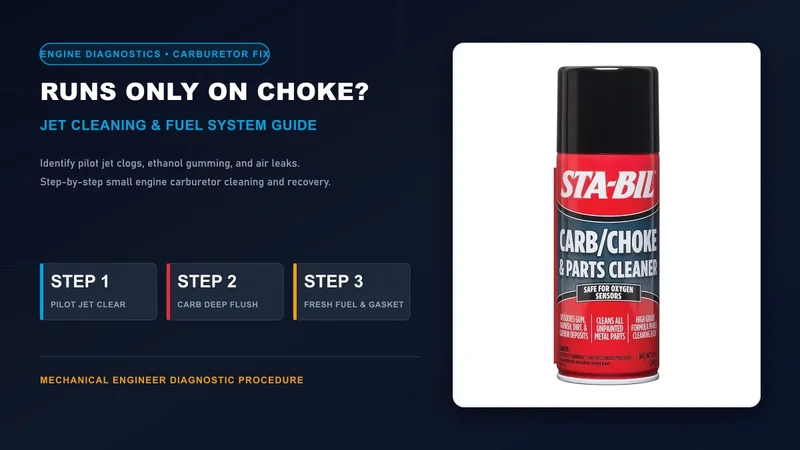
Your pressure washer fires up on choke, but dies the instant you flip to RUN? That engine is starving for fuel. Closing the choke restricts incoming air. That artificial vacuum forces the engine to pull gas through a gummed-up main jet (0.028"–0.032"). Push the choke open, and fresh air floods the cylinder. Without enough fuel to match, the mixture leans out instantly. The engine dies right in its tracks.
Every spring, customer rigs flood my shop with this exact headache. The machine sat all winter with untreated gas in the float bowl. The owner pulls the recoil rope. It fires right up on choke. But the second they flip to RUN to start washing, it stalls out cold. Don't panic. It's not blown up. It's just thirsty.
It's not ruined. It just needs fuel. Clean the main jet first.
Whatever you do, don't run your pressure washer on choke just to limp through a driveway job. That raw, unburnt gas washes lubricating oil right off the cylinder walls. It coats your spark plug in thick black soot and seeps into your crankcase oil. Below, I'll walk you through the diagnostics and explain the venturi physics. You'll learn how to clean a pressure washer carburetor without taking it off in 15 minutes flat.
Najam's Shop Rule: Why It Only Runs on Choke
- Clogged Bowl Bolt / Main Jet (90% of cases): Stale gas evaporates in the bowl. It leaves behind sticky amber varnish that chokes the tiny 0.028"–0.032" brass pinhole.
- Surging and Sputtering Off Choke: That governor arm rocking back and forth isn't broken. The emulsion tube's side bleed holes or the pilot idle jet are partially plugged with gum.
- Intake Gasket Vacuum Leak: Loose carb mounting studs or a torn paper gasket let stray air sneak in behind the carb. That leans out your charge even with clean jets.
The Fluid Mechanics: Why a Microscopic Clog Kills the Engine
A carburetor is an air-driven fuel pump operating on Bernoulli's principle. As intake air accelerates through the narrow venturi throat, static pressure drops (ΔP). That venturi depression pulls liquid fuel up from the float bowl:
Orifice Fuel Flow: Qfuel = Cd × Aorifice × √(2 ΔP / ρfuel)
Here's the kicker: Fuel flow scales with the square of the orifice radius (A = π d2 / 4). A paper-thin film of dried ethanol varnish—just 0.004 inches thick—chokes off 44% of the fuel flow area. When you open the choke, the engine takes a full gulp of air with half the fuel it needs. The combustion ratio collapses past 18:1 (far leaner than the 14.7:1 stoichiometric sweet spot). The engine dies on the spot.
Diagnostic Troubleshooting Hierarchy Matrix
If your small engine dies when choke turned off, don't start spinning screws at random. You'll only make things worse. Match your exact symptoms against this bench matrix to pinpoint the mechanical root cause:
| Symptom | Mechanical Root Cause | Combustion AFR State | Diagnostic Verification Check | Mechanical Corrective Action |
|---|---|---|---|---|
| Runs Only on Full Choke | Varnished Main Jet (0.028"–0.032") or Bowl Bolt Orifice | Severely Lean (>18:1 AFR) | Dies instantly within 1 second of moving choke lever to RUN | Drop 10mm bowl bolt; ream center and cross-drilled passages with 0.012" soft wire and solvent |
| Engine Surges / Hunts at Steady Throttle | Clogged Emulsion Tube Bleed Holes / Restricted Pilot Jet | Oscillating Lean/Rich Cycle | Governor arm rocks back and forth continuously; RPM fluctuates ±400 RPM | Extract brass emulsion well; clear all 8–16 lateral 0.014" aeration holes; service pilot idle jet |
| Stalls Under Spray Trigger Pull | Main Jet Flow Deficit / Clogged Tank Cap Vent | Lean Under Hydraulic Load | Idles steadily on RUN, but stalls the instant unloader valve loads pump pistons | Clean main jet orifice; loosen gas cap half a turn to test for fuel tank vacuum lock |
| Fuel Dripping from Air Box / High Oil Level | Stuck Float Needle / Debris on Viton Seat / Sunk Float | Severely Rich (<9:1 AFR) / Flooding | Raw gas pools in air filter housing; crankcase oil level rises with sharp gas odor | Remove float hinge pin; flush brass seat cavity; inspect Viton cone tip for deformation |
| Backfiring Through Carburetor Intake | Intake Manifold Gasket Vacuum Leak / Warped Spacer | Parasitic Unmetered Air | Carb cleaner sprayed around intake manifold flange causes immediate RPM spike | Replace brittle intake paper gaskets and cracked phenolic insulator; torque flange evenly |
Small Engine Carburetor Venturi & Fuel Jet Schematic
Take a look at how fuel and air travel through a typical small engine carburetor (like a Honda GX200, Predator 212, or Briggs 208cc). When you flip the choke plate shut, it forces a deep depression across the venturi throat. That suction pulls fuel past the clog:
Why Untreated Gas Clogs Pressure Washer Carburetors So Fast
A gas pressure washer doesn't idle around. The engine runs at a governed speed—usually 3,400 to 3,600 RPM. At that tempo, the piston acts like a rapid air pump. Why does a gummed-up jet shut the engine down the instant you open the choke?
1. Phase Separation & Gum Buildup
Standard pump gas carries up to 10% ethanol. Ethanol is alcohol. It drinks water straight out of humid air. When your pressure washer sits past 30 days without stabilizer, trouble begins:
- Phase Separation: Water bonds with ethanol and falls out of suspension. That heavy mixture drops straight to the bottom of the float bowl. The brass main jet sits submerged in that acidic puddle. Soon, it corrodes into a chalky white crust.
- Varnish Formation: Light fuel vapors evaporate out of the bowl vent. Heavy aromatics stay behind. They cure into a sticky amber glaze that plugs the microscopic 0.028"–0.032" jet.
2. Emulsion Tube Aeration Breakdown
Gasoline doesn't enter the carb throat as a solid stream. That wouldn't burn cleanly. Inside the central brass well, air bleeds into the fuel column through 8 to 16 cross-drilled holes (measuring just 0.014" to 0.018" / 0.35 to 0.45 mm). This pre-froths the fuel into a light, atomized foam.
If your Honda GX200 runs only on half choke, or your Predator 212 pressure washer carburetor hunts, those bleed holes are choked with varnish. When the engine demands full power, it tries pulling raw liquid gas instead of an atomized froth. The venturi depression can't lift it. The engine surges, coughs, and starves out.
Step-by-Step Carburetor Cleaning SOP
Here's my bench-tested procedure to flush the varnish, clear your jets, and get your pressure washer running smoothly on RUN:
Phase 1: How to Clean a Pressure Washer Carburetor Without Taking It Off (The 15-Minute Field Fix)
You don't need to yank the carburetor off the engine studs or fight delicate governor linkages for a standard clog. Try this quick 15-minute bench trick first:
- Shut Off the Fuel: Turn the fuel petcock lever to OFF. If your machine lacks a shutoff valve, clamp the 1/4" rubber fuel line. Use smooth-jaw pinch pliers so you don't crush the hose.
- Catch Residual Gas: Set an oil drain pan or shop rag directly under the carburetor bowl. You'll catch a couple of ounces of gas.
- Drop the 10mm Bowl Bolt: Grab a 10mm box wrench or 6-point socket. Unscrew the center bolt on the bottom of the aluminum float bowl. Carefully drop the bowl down.
- Clean the Bowl Nut Orifices: Inspect the bolt in good light. On Kohler, Briggs, and Honda clones (like the Predator 212), the bolt itself is the main jet. It has a central blind hole and two tiny cross-drilled side holes near the threads. Poke a 0.012" soft copper wire (a single strand from a stripped twist-tie or guitar high-E string) through both cross holes. Ream gently until you see daylight. Then blast it clean with carb cleaner spray.
- Reinstall and Test: Check that the rubber bowl O-ring sits squarely in its groove. Snug the 10mm bolt down firm, but don't over-tighten and crush the seal. Turn the gas on, pull the cord, and flip the choke to RUN. Eight times out of ten, that's all it needs. The engine purrs immediately.
Phase 2: Complete Carburetor Disassembly & Jet Extraction
Does your pressure washer run then die when choke is off even after cleaning the bowl nut? Then the emulsion tube or pilot idle jet is gummed up. Pull the carburetor off the mounting studs:
- Unhook Linkages Carefully: Remove the air filter housing nuts (two 10mm). Slide the carburetor forward one inch. Unhook the fine, coiled anti-backlash governor spring first. Then unhook the z-shaped throttle rod. Don't stretch or bend these links. They govern engine RPM stability.
- Inspect Float & Viton Needle: Push out the brass hinge pin with needle-nose pliers. Lift out the plastic float and Viton-tipped fuel needle valve. Check the black rubber cone under a good light. If you see a worn ring groove or hard rubber, swap it out. A leaking needle floods raw fuel into your crankcase oil.
- Extract the Brass Main Jet: Look straight up inside the central brass pedestal. Use a hollow-ground flathead screwdriver that fits the slot snugly. Narrow tapered screwdrivers will chew up soft brass edges. Turn counter-clockwise to back the threaded jet out.
- Drop the Emulsion Tube: With the main jet removed, take a wooden toothpick or plastic punch through the carburetor throat. Tap gently on the brass nozzle. The emulsion tube slides right out the bottom pedestal.
Phase 3: Micro-Wire Cleaning & Pilot Jet Service
Cleaning precision small-engine orifices requires a gentle touch. Follow these rules to protect your carburetor calibration:
- The Wire Diameter Rule: Never use sewing needles, drill bits, or safety pins. Hardened steel scrapes brass. It will ream a 0.028" jet into an oversized 0.035" hole in seconds. Your engine will run rich, blow black soot, and foul plugs forever. Stick to soft copper strands or calibrated micro-wire cleaner sets (0.012"–0.020").
- Clear Every Lateral Bleed Hole: Run your soft wire through every single side hole on that emulsion tube. Hold the tube up to a shop light. Every cross hole must be round and open.
- Ultrasonic Bath Cycle: Got an ultrasonic cleaner? Drop the stripped body, brass main jet, and emulsion tube into a 50°C bath. Mix water and carb cleaner 10:1 for 20 minutes at 40 kHz. Microscopic cavitation bubbles scrub blind passages spray cans can't touch.
- Service the Low-Speed Pilot Jet: Look on top of the carb body under the plastic idle speed stop screw. Pry out the black plastic pilot plug (or unscrew it if brass). Poke your 0.012" wire through its tiny 0.015" (0.38 mm) center pinhole. Flush the transition ports inside the venturi throat with carb spray.
Dial In Job Estimates & Fuel Operating Costs
Once your engine runs clean without surging, keep your whole rig dialed in. You can figure your hourly fuel burn, chemical costs, and square-footage pricing using our free shop estimator:
Engineer's Bill of Materials (BOM): Carburetor Rebuild & Maintenance Kit
If old fuel sat for years, it can pit aluminum casting or weld the float pin solid. When a solvent soak won't clear rusted micro-passages, swap the whole carburetor. A fresh OEM-spec assembly bolts right up and gets you back to work fast. Here's what we stock on the shop bench:
| Part Name | Thread / Orifice Spec | Engineering Purpose | Verified Amazon Link |
|---|---|---|---|
| Complete Carburetor Kit (GX160 / GX200 / Predator 212) | 19mm Venturi / 0.028" Jet / M22-14 Gaskets | Drop-in replacement assembly; restores factory stoichiometric 14.7:1 AFR without manual jet drilling | VIEW ON AMAZON |
| Precision Carb Jet Wire Cleaning Tool & Micro-Brush Set | 13-Wire Gauge Set (0.012"–0.060" / 0.3–1.5mm) | Clears hardened gum from brass emulsion ports and bowl nut cross-holes without scraping or gouging brass | VIEW ON AMAZON |
| In-Line Brass Fuel Shut-Off Valve & Sintered Filter Kit | 1/4" Barbed (6.35mm ID) / 40-Micron Filtration | Allows complete carburetor run-dry shutdown; filters rust and tank scale before reaching the float needle | VIEW ON AMAZON |
| STA-BIL 360 Marine / Storage Fuel Stabilizer | Vapor Corrosion Inhibitor / 1 oz treats 5 Gal | Prevents phase separation and ethanol gum oxidation during seasonal storage up to 12 months | VIEW ON AMAZON |
Commercial Small Engine Carburetor Rebuild Kit & Ultrasonic Jet Cleaner
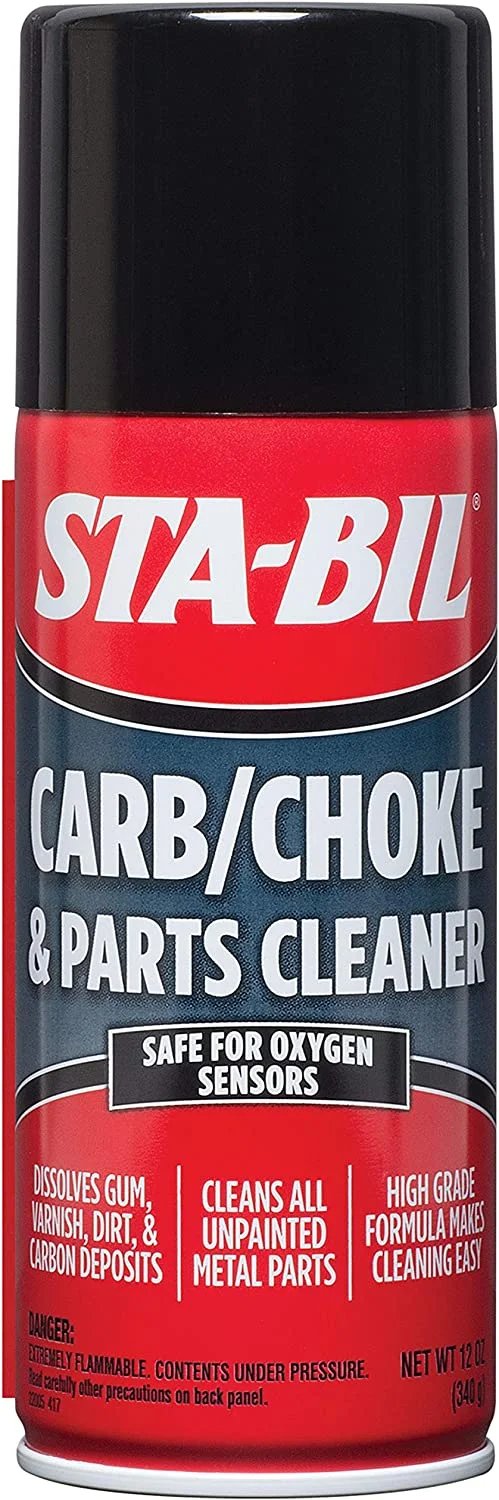
- Rapidly dissolves gummy fuel varnish, dried ethanol residue, and baked-on carbon
- Includes precision 13-wire spiral micro-reamers calibrated for 0.012"–0.060" jets
- Clears internal emulsion tube aeration ports without scratching soft brass walls
- Restores crisp governor response, smooth idle, and rated 3,600 RPM under load
The Workbench Takeaway: Stop Ethanol Clogs Before They Start
Once your engine purrs on RUN, set these three habits in stone. You'll never have to tear this carb apart again:
- The Run-Dry Rule: Done washing for the day? Turn the fuel valve OFF while the engine is still idling. Let it burn every drop in the bowl until it sputters out. A dry bowl can't grow varnish. Period.
- Never Store Pump Gas Past 30 Days: Standard E10 pump gas goes sour fast. If the rig will sit longer than four weeks, dose the tank with stabilizer. Better yet, run ethanol-free 4-cycle fuel (like TruFuel or VP Small Engine 94) for your final run of the season.
- Install Gaskets in Exact Factory Order: When bolting the carb back on, keep the insulator stack straight:
Cylinder Head → Gasket → Plastic Insulator Spacer → Gasket → Carburetor → Gasket → Air Box. Flip a gasket backward, and you'll block the bowl vent port. The engine won't get a sip of gas.
Frequently Asked Questions
Why does my pressure washer stall immediately when I push the choke to RUN?
Pushing the choke to RUN opens the flap and lets in full airflow. If the tiny 0.028"–0.032" main jet or pilot orifice is gummed up with old fuel varnish, the engine can't pull enough gas to match that air. The mixture turns ultra-lean (spiking past an 18:1 air-fuel ratio), and the engine stalls out cold.
What size wire should be used to clean small engine carburetor jets?
Use soft copper wire or micro torch-tip cleaner wire between 0.010" and 0.020". A single strand from a stripped twist-tie or guitar high-E string works perfectly. Never use hardened steel needles, twist drill bits, or safety pins. Hard steel gouges soft brass, permanently enlarging the jet and causing rich running, black exhaust soot, and fouled plugs.
Can an intake manifold vacuum leak mimic a clogged carburetor jet?
Yes. A cracked paper gasket or loose phenolic spacer lets outside air sneak in behind the throttle plate. That unmetered air leans out your combustion mixture just like a clogged jet, forcing you to keep the choke closed. To test for this, spray a short mist of carb cleaner around the intake flange while idling. An instant jump in RPM confirms an intake vacuum leak.
Why does untreated ethanol gasoline clog pressure washer carburetors so quickly?
Standard pump gas carries up to 10% ethanol, an alcohol that drinks moisture right out of ambient air. When your pressure washer sits in storage past 30 days, light fuel vapors evaporate from the vented bowl, leaving behind sticky amber varnish. At the same time, absorbed water separates, pooling at the bottom of the bowl and corroding brass jets into a chalky white crust.
Is it better to clean a varnished carburetor or install a replacement aftermarket kit?
If the carburetor just has sticky fuel varnish, drop the 10mm bowl bolt. Clearing the main jet with carb spray and soft wire takes 15 minutes and costs almost nothing. But if the carburetor body has severe aluminum pitting or a damaged needle seat, install an OEM-spec replacement kit ($15–$25). It includes fresh gaskets and gets you back to work with zero hassle.