Affiliate Disclaimer: This post may contain affiliate links, meaning we get a commission if you decide to make a purchase through our links, at no extra cost to you.
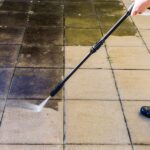
A smoothly operating pressure washer hose is crucial for thorough and efficient cleaning tasks at your residence. Nonetheless, similar to other tools, these hoses can encounter various problems as time progresses, including leaks, kinks, and faulty fittings.
Grasping the prevalent challenges with pressure washer hoses lays the groundwork for understanding how to fix pressure washer hose challenges effectively. Dedicating time to pinpoint the issue and assembling the required repair tools allows you to swiftly mend your hose, thereby enhancing its durability.
Opting to repair the hose on your own not only helps you save money but also instills a sense of achievement and boosts your self-assurance in handling additional DIY maintenance tasks.
Types of Pressure Washer Hoses
Let’s take a look at some of the types of high pressure hoses used for pressure washing.
1. Rubber Hoses
Rubber hoses are durable and flexible. They handle high pressure well and can manage hot water. Their downside? They’re heavy and pricey.
2. PVC (Polyvinyl Chloride) Hoses
Light and affordable, PVC hoses are stiff. This means they can kink, pausing your work. They’re great for light duties where you don’t need much flexibility.
3. Polyurethane Hoses
These hoses are kind to surfaces, leaving no marks. They hit a sweet spot between flexible and sturdy. But, they cost more for their gentle touch and durability.
4. Hybrid Hoses
Mixing rubber and PVC benefits, hybrid hoses are easy to handle. They’re less likely to kink than PVC and lighter than rubber. They fit a variety of cleaning tasks and selecting the right length of the hose is crucial for efficiency.
5. Stainless Steel Braided Hoses
Top-tier in durability and pressure endurance, these are for heavy-duty use. They resist wear, rust, and corrosion. Their high price matches their industrial-grade performance.
Identifying the Damaged Hose
Before you can fix your pressure washer hose, it’s crucial to determine the root cause of the issue. Understanding the problem will help you choose the correct repair method and avoid wasting time and resources.
Here are the most common issues you may encounter with your pressure washer hose:
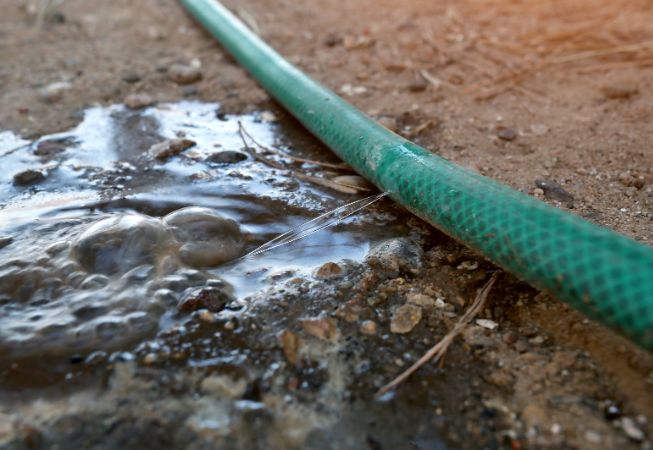
Hose Leaks
Hose leaks can occur in various forms, and identifying the type of leak will guide you on how to fix it effectively.
- Pinhole leaks: These are small, pinpoint leaks that occur along the hose’s length. They are often caused by wear and tear or exposure to sharp objects. Pinhole leaks can reduce the pressure washer’s cleaning power and lead to water wastage.
- Larger leaks: When the hose’s damage is more extensive, the leak will be more significant, affecting the pressure washer’s performance. This leak often occurs when the hose has weakened due to age, abrasion, or extreme temperatures, signaling the need for replacing the hose.
- Connection leaks: These leaks occur at the points where the hose connects to the pressure washer or the spray gun. Damaged fittings, worn-out seals, or loose connections can cause connection leaks.
Kinks and Twists
Kinks and twists in the pressure washer hose can restrict water flow and reduce the equipment’s overall efficiency. They usually occur when the hose has been improperly stored, hastily rolled up, or twisted during use, leading to pressure washer hose damage.
Over time, these kinks can lead to damage or even hose failure.
Damaged Fittings
The fittings or connectors at the ends of the pressure washer hose can wear out or become damaged over time, compromising the ability to connect securely to the pressure washer or spray gun.
Damaged fittings can cause leaks, pressure loss, and difficulty attaching or detaching the hose from the equipment.
Causes of Hose Leaks
Pressure washer hose leaks are often caused by high water pressure that exceeds the hose’s capacity, leading to weak spots or ruptures. Other common causes include regular wear and tear, poor quality materials, exposure to harsh environmental conditions, and damages such as kinks or cuts.
Required Tools and Supplies
Before you begin fixing your pressure washer hose, gathering all the necessary tools and supplies is essential to ensure a smooth and efficient repair process.
The following items are required for addressing various hose issues:
- Hose repair kits: These kits typically include hose menders, clamps, and other necessary components. They can be found at your local hardware store or online. Make sure to choose a kit that is compatible with your specific hose type and diameter.
- Replacement fittings: Common fitting types include M22, 3/8″ quick connect, and 1/4″ quick connect. Check your hose or pressure washer manual for the correct fitting specifications.
- Utility knife and scissors: These tools will be needed to cut out damaged hose sections and trim the hose ends for a proper fit with new fittings or hose menders.
- Plumber’s tape: Also known as Teflon tape, a plumber’s tape is a thin, white tape used to create a watertight seal on threaded connections. You’ll need this when replacing fittings or making any repairs that involve threaded components.
- Protective gloves and eyewear
Fixing Your Leaky Pressure Washer Hose
Pressure washer hose leaks can significantly affect your pressure washer’s performance, making it essential to tackle them quickly.
Repairing pinhole leaks
- Locate the leak: Start by examining your pressure washer hose closely to identify the exact location of the pinhole leak. You may need to run water through the hose to spot the leak more easily.
- Clean the area: Before repairing the leak, ensure the area around it is clean and free of dirt and debris. Use a clean cloth and mild detergent to clean the hose surface gently.
- Apply hose repair duct tape: Hose repair tape, also known as self-fusing silicone tape, is designed to create a watertight seal when wrapped around a hose. Cut a length of tape long enough to wrap around the hose several times, covering the leak and extending at least an inch beyond it in both directions. Stretch the tape and wrap it tightly around the hose, ensuring it overlaps with each pass. Firmly press the tape to ensure it bonds well with the hose surface.
- Test the repair: Once the tape is applied, allow it to set for a few minutes before testing the repair. Turn on the pressure washer and check for any signs of water leakage. If the leak persists, you may need to apply additional layers of tape or consider using a hose mender for a more permanent solution.
Bond It F4 Self-Fusing Silicone Tape
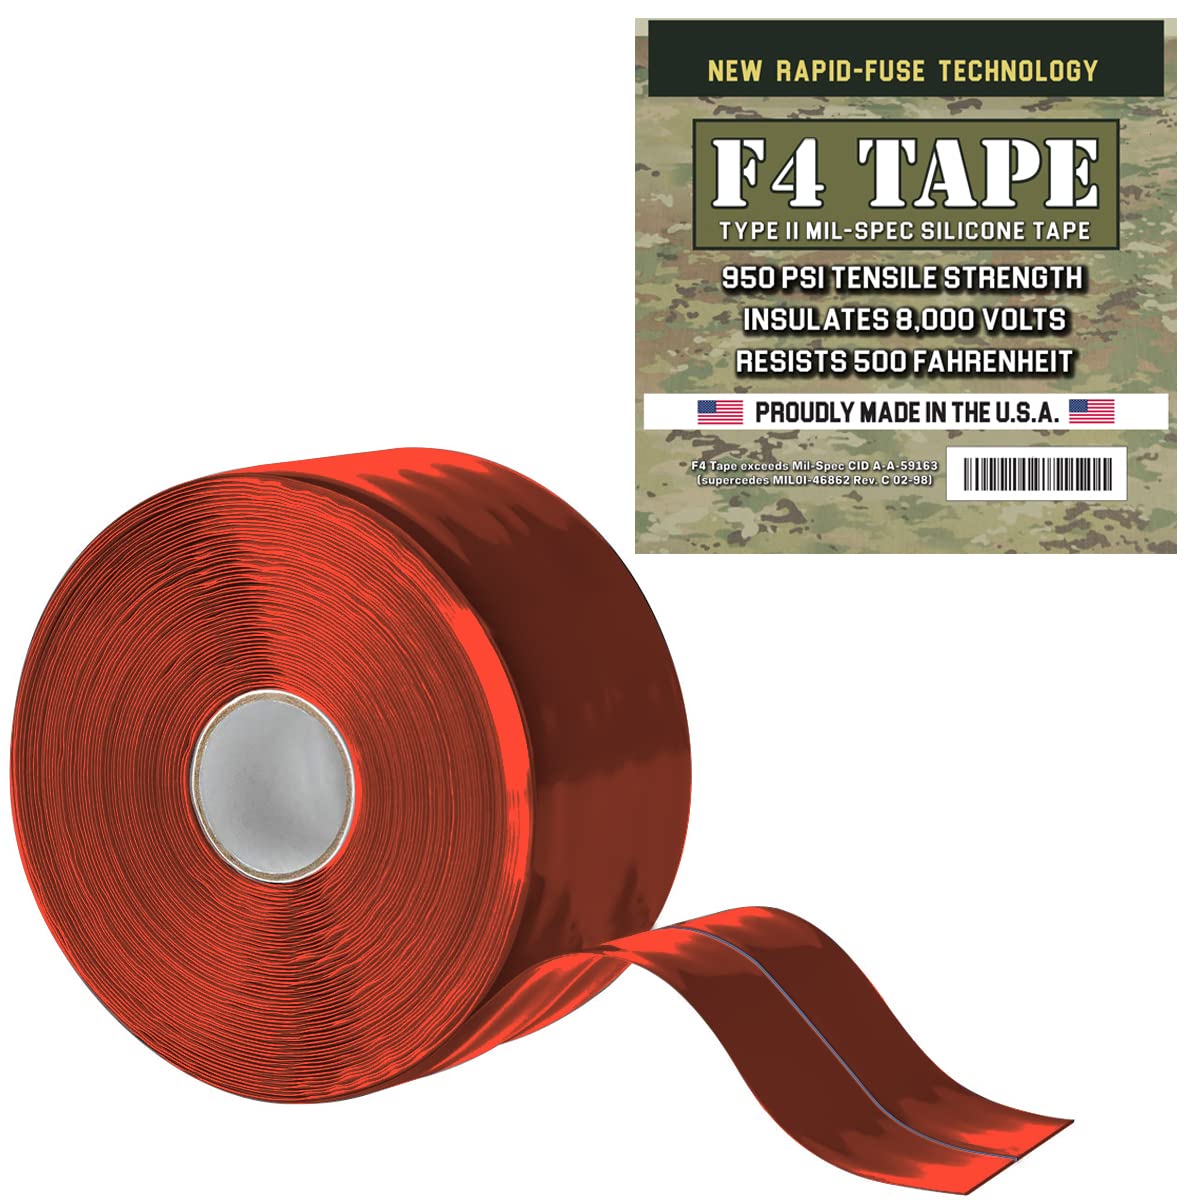
We recommend using the Bond It F4 tape for hose repair.
Its single layer can withstand up to 950 psi of water pressure.
Repairing larger leaks
- Locate and measure the damaged area: Inspect your hose to find the larger leak, and measure the damaged section that needs to be removed.
- Cut out the damaged section: Using a utility knife or sharp scissors, carefully cut out the damaged area of the hose. Cut straight, clean edges to fit the hose mender properly.
- Attach a hose mender or splice kit: Following the instructions on your hose repair kit, insert the hose mender into each end of the cut hose. Ensure the mender is inserted fully and evenly on both sides.
- Secure the connection with clamps: Slide the provided clamps over each hose end, positioning them close to the mender. Tighten the clamps to secure the connection, being cautious not to overtighten and damage the hose.
- Test the repair: After completing the repair, test the hose by running water through it and observing the repaired area for any signs of leakage. If you notice any leaks, double-check the mender and clamp placement, making necessary adjustments.
Addressing Kinks and Twists
Kinks and twists in your pressure washer hose can cause a significant reduction in water flow and pressure, leading to inefficient cleaning and longer cleaning times.
Straightening out the hose
To straighten out a kinked or twisted hose, follow these steps:
- Turn off your pressure washer and release any pressure from the hose to prevent burst incidents.
- Unwind and straighten out the hose as much as possible by gently pulling it taut.
- Use your hands to work out any remaining kinks or twists by gently twisting or bending the hose in the opposite direction of the kink.
- If necessary, lay the hose out in the sun for a few hours to allow it to warm up and become more pliable. This can help to remove stubborn kinks or twists.
Preventing future kinks
Preventing kinks and twists in your pressure washer hose is essential for maintaining optimal water flow and pressure, thus avoiding the cost of replacing the hose. Here are some tips to help avoid future kinks:
- Proper storage techniques: Store your pressure washer hose to minimize kinking and twisting. This can be achieved by coiling the hose loosely and securing it with a hook or hanger. Avoid tightly coiling or bending the hose, as this can cause kinks and twists to form.
- Hose management during use: While using your pressure washer, be mindful of the hose and avoid stepping on it or letting it tangle or twist. Keep the hose as straight as possible when moving around objects or corners, and avoid sharp turns.
Did You Know?
Pressure washer hoses are rated based on their burst pressure. A hose’s burst pressure is four times its maximum pressure rating. This measure ensures that the hose can safely withstand the high pressures it’s subjected to during operation.
Replacing Damaged Fittings
If your pressure washer hose has damaged fittings, replacing them is crucial to maintain optimal water flow and pressure. Here are the steps to follow for replacing damaged fittings:
Removing the old fitting
- Cutting off the damaged fitting: Use a utility knife or sharp scissors making a clean cut as close to the hose end as possible.
- Preparing the hose end: Use scissors to trim the end of the hose to ensure a clean, straight edge without any frayed or damaged sections.
Installing the new fitting
- Attach the new fitting with a clamp: Depending on the type of fitting, you may need to slide a clamp over the hose end before inserting the fitting and using an adjustable wrench to secure it. Once the fitting is inserted, slide the clamp over it and position it close to the end of the hose.
- Tighten the connection: Using a screwdriver or pliers, tighten the clamp until it is snug, but be cautious not to overtighten and damage the hose.
- Apply plumber’s tape to threaded connections: If your new fitting has threaded connections, wrap the plumber’s tape around the threads to create a watertight seal. Be sure to wrap the tape clockwise and apply enough to cover all the threads.
- Test the repair: After completing the repair, test the hose by running water through it and observing the repaired area for any signs of leakage. If you notice any leaks, double-check the fitting and clamp placement, making necessary adjustments.
Maintaining Your Pressure Washer Hose
Proper maintenance of your pressure washer hose can help extend its lifespan and ensure optimal performance.
Here are some maintenance tips to keep your hose in good condition:
Regularly inspect your hose:
Make it a habit to inspect your pressure washer hose regularly for signs of wear and tear, such as cracks, abrasions, or bulges.
Clean your hose after use:
After using your pressure washer, take a few minutes to rinse off any dirt or grime that may have accumulated on the hose.
Use a gentle detergent and a soft brush to clean the hose surface, being careful not to damage the material.
Store your hose properly:
Proper storage of your pressure washer hose can help prevent kinks and other damage. Store the hose loosely coiled and secured with a hook or hanger to prevent kinking.
Avoid storing the hose in direct sunlight or extreme temperatures, as this can cause damage over time.
Use hose hangers like the ones below to keep your hose organized and safe.
Heavy Duty Hose Hanger

- Durable Material
- Rust Proof
- Easy Installation
- Kink Protection
Use the correct nozzle:
Using the right nozzle for your pressure washer can help prevent damage to your hose.
Choose a nozzle with the appropriate pressure rating for your machine, and avoid using nozzles with a higher pressure rating than recommended.
Conclusion
Knowing how to fix pressure washer hose issues is crucial to maintaining optimal water flow and pressure, ensuring efficient and effective cleaning. By regularly inspecting and cleaning your hose, addressing kinks and twists, replacing damaged fittings, and practicing proper hose maintenance, you can prolong the life of your hose and enhance your pressure-washing experience.
Remember that investing time and effort in maintaining your pressure washer hose will improve its performance and save you the cost of frequent replacements, making it worth the investment.
With these tips, you can confidently tackle your cleaning tasks, knowing that your pressure washer hose is in top-notch condition. Happy cleaning!
FAQs
What is the best way to store my pressure washer hose to extend its life?
To extend the life of your pressure washer hose, it’s advisable to avoid leaving it under direct sunlight for prolonged periods, as UV rays can weaken the material. After use, ensure the hose is fully drained of water, as water left inside can cause corrosion or damage in freezing conditions.
Coil the hose loosely without kinks or tight bends, and store it in a cool, dry place. Using a hose reel can also help prevent wear and tear.
Is it safe to repair a high-pressure hose on my own, or should I seek professional help?
While minor repairs can sometimes be done using specific high-pressure hose repair kits, it’s important to assess the extent of the damage first. If the hose has a small puncture or cut, a repair kit might suffice.
However, for major damage or near the hose fittings, seeking professional help is safer to ensure the integrity of the hose under high pressure.
How do I know if my pressure washer hose is damaged beyond repair?
Signs that your pressure washer hose might be beyond repair include multiple leaks, large gashes, or damage close to the hose fittings.
If the inner reinforcement layer is exposed or severely damaged, it’s time to replace the hose. Continued use of a severely damaged hose could be dangerous.
What kind of maintenance routine should I follow to extend the life of my pressure washer hose?
To maintain your pressure washer hose, regularly inspect the hose for any signs of wear, abrasions, or leaks. Clean the outside of the hose with a mild detergent and warm water to remove any dirt or grime.
It’s also essential to flush the hose with clean water after use, especially if using any chemicals. Lastly, ensure proper storage as recommended above to prevent unnecessary stress or damage.
Are there any signs that indicate the need for an immediate replacement of the hose?
Yes, certain signs demand immediate replacement of the hose. If you notice severe leaks where the water is spraying out under high pressure, bulges indicating a weak spot in the hose, or if the hose has burst, replace it immediately.
Also, if the fittings are corroded or damaged, it’s safer to invest in a new hose.
Can I extend the life of my pressure washer hose by using a lower pressure setting?
Using a lower pressure setting than the hose’s maximum rated pressure can indeed help extend its life by reducing the stress on the hose’s materials. However, make sure that the pressure is still adequate for the cleaning task at hand to maintain efficiency.
How often should I replace my pressure washer hose?
The lifespan of a pressure washer hose can vary based on its material, usage frequency, and how well it’s maintained. As a guideline, consider inspecting the hose carefully at least once a year.
Replacement may not be strictly based on time but rather on the condition of the hose and its performance. Signs of wear, damage, or reduced performance should prompt you to replace the hose to ensure safety and efficacy.